The most complete analysis of professional audio system debugging methods
In many cases, the use of professional audio systems is not just as good as what is stated in the book. In current practical applications, the environment is often more complicated than in the past, so the theoretical knowledge in the book needs to be understood and used flexibly Proper use of professional sound system. The professional audio debugging work is to test right and wrong in practice. After all, a performance is the hard work of many people behind the scenes. If there is a problem with the audio system without debugging, the entire performance will be greatly reduced. The following introduces the debugging method of professional audio system for everyone, I hope to help you

Preparation before commissioning:
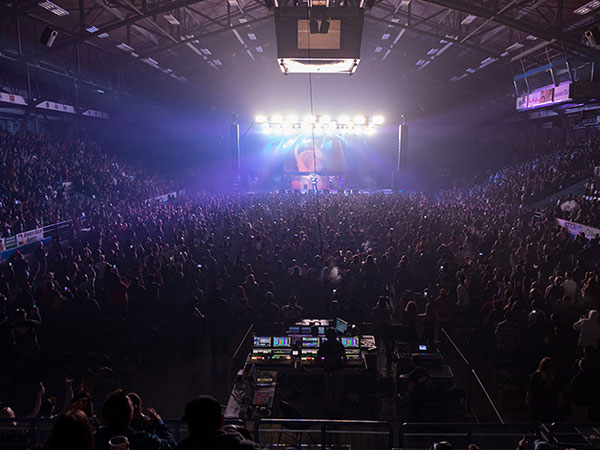
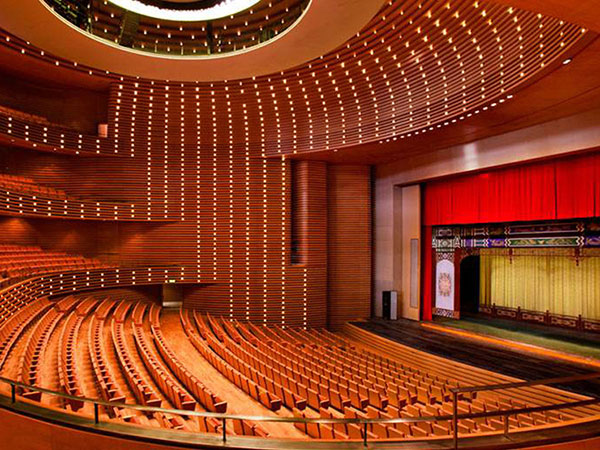
1. The placement of the speakers: the main expansion speakers on the stage are placed on both sides of the front of the stage. The human body, table, chair and other objects absorb less. The tweeter is highly directional and easily absorbed by objects. The radiation areas of the two sets of speakers overlap each other as much as possible to increase the stereo listening area. The openings of the auxiliary sound reinforcement boxes on both sides of the dance hall are biased towards the rear area of the hall to meet the listening needs of the audience in the rear area and make the sound field distribution in the hall more even. It is not advisable to place speakers on the back wall of the hall. Make sure that the sound image is unified to avoid feedback.
2. Speaker wiring: speaker wiring must use speaker cable, each should be more than 200 shares. The two colors of the speaker cable are different. The connection between the speaker and the amplifier output terminal should be strictly distinguished. The two channels are completely the same and must not be misconnected. Otherwise, the speaker will play in reverse phase, resulting in uneven distribution of the sound field and deterioration of the sound quality.
3. Connection of audio equipment: audio equipment must be connected with audio cable, cable shielding wire and core wire should be firmly welded to avoid the phenomenon of virtual welding. Pay attention to the wiring rules of each plug, and it cannot be reversed arbitrarily, especially the balanced connection of the XLR plug. The XLR plug and the two-core plug are balanced and unbalanced conversion connection, should be carried out according to the specifications. The first two sets of equipment after the mixer are connected in a balanced manner as far as possible to reduce system noise and improve anti-interference ability. In common connection, the 2 pin of the XLR plug is connected with the high-quality core of the big two-core or big three-core plug.
4. Connect the mixer, sound source and peripheral equipment according to the connection diagram of various singing and dancing hall audio equipment.
5. The input channel parameter equalization attenuation of the mixer is at 0dB, and the input fader and the master fader are at a lower position.
System boot:
Turn on the mixer first, then the peripheral power, and finally the power amplifier (amplifier) power. Push the input channel fader of the mixer to 2/3, the input channel gain to 4/5, and the master control fader to about 0dB. Listen to the static noise of the entire sound reinforcement system. If the total static noise is large, Open the noise gate of the compressor until the noise is slightly audible, pull down the master fader, input the sound signal, and then push the left and right channel master faders again to play the sound.
Adjust the electronic crossover
Turn off the high-band power amplifier first, adjust the crossover frequency of the low end of the crossover. When the frequency is adjusted to a certain point, the pronunciation of the woofer and midrange speaker is relatively moderate. Fix this frequency point as the low-end crosspoint frequency. Then, turn off the low-band power amplifier, turn on the high-band power amplifier, adjust the crossover frequency of the high-quality crossover. When the frequency is adjusted to a certain point, the sound of the mid-range speaker and the tweeter is moderate, and fix this frequency point as high-quality Crosspoint frequency. The electronic crossovers of the left and right channels of the main expansion system should be adjusted as described above.
Adjusting the compressor
When used as a compressor, adjust the compression threshold, compression ratio, startup time and recovery time according to listening needs. For music with too high dynamic fluctuations, such as symphony, the compression ratio should be increased, the startup time should be shortened, and the recovery time Longer. In order to make the level signal level sense stronger, the compression threshold can be increased. During the adjustment process, it should be noted that the start time and recovery time cannot be adjusted too small, otherwise there will be a "gasp" effect, the compressor is used as a limiter, and the compression ratio is ∞: 1, then the compression threshold becomes the limit threshold. The adjustment of the threshold should not be too large, otherwise the amplifier and speakers cannot be protected, and generally adjusted until the amount of sound expansion is sufficient. Change the compression threshold and adjust to the scale that just affects the volume of sound expansion.
Adjust the equalizer
Pull down the mixer master output fader and play a CD album with singing that you are very familiar with. Normally, the subjectively understand the balance of high, middle and low frequency bands in the music and music and singing voice through the headphones. There is already a subjective standard for the balance ratio, and the music can be played back through the sound reinforcement system, or the audio test CD record can be played.
1. Room equalization adjustment of the main sound reinforcement system: adjust the PAN on the input channel of the left channel of the CD record to the left on the mixer. The PAN on the right channel input channel is adjusted to the right, and the gain knobs Gain on the two channels are adjusted to make the corresponding peak indicator in a better state to be bright or not, and the corresponding channel fader is at the 2/3 position. Push up the left and right master faders of the mixer until the listening volume in the auditorium is sufficient. Then adjust the room balance and proceed in sections, divided into four frequency bands: high, medium high, medium low, and low, with every two scale frequency points as a group. Based on the subjective evaluation of listening, the attenuation gain is improved. It is better to start from the middle and high frequency points, and then go up or down to increase the attenuation gain of other scale frequency points, until the music is heard in the auditorium high, medium and low balance The situation is about the same as what I heard with headphones. At this time, the distribution curve of the push button on the room equalizer is the qualitative compensation curve. In the subsequent tuning process, this adjustment cannot be changed arbitrarily.
2. Auxiliary sound reinforcement system engineering room balance adjustment: first pull down the left and right master faders on the mixer to turn off the main sound reinforcement. Program the input sound signal into the group bus and push up the group output master on the mixer until the music is heard clearly in the audience and the volume is moderate. Adjust the compensation according to the method of adjusting the room equalizer of the main sound reinforcement system to obtain the room compensation curve of the auxiliary sound reinforcement system.
3. Room equalization adjustment of the return sound reinforcement system: It is the same as the debugging method of the main sound reinforcement system, but the adjustment of the sound volume is performed on the auxiliary knob. The adjusted room balance compensation should not be changed arbitrarily in the future sound reinforcement.
Adjust Feedback Suppressor
Turn off all outputs on the mixer, insert the microphone into the mixer, place the microphone in the original position, avoid direct alignment with the speaker, the corresponding input channel gain adjustment Gain is adjusted to the 4/5 position, and the parameter balance improves the attenuation. At the 0dB position, the sound image adjustment PAN is placed in the middle position, and the fader is pushed to near 0dB. First adjust the feedback suppressor in the main sound reinforcement system, then adjust the feedback suppressor in the auxiliary sound reinforcement system, and finally adjust the feedback suppressor in the stage return system. The following uses the American Sabine2020 machine as an example to explain its adjustment method.
1. Press the filter total number key for 4s and release this key. The filter indicator lights up in sequence. When the 9th light is on, press this key again to set 9 total fixed filter numbers.
2. Press the fixed filter number key for 4s, release this key, the filter indicator lights up in sequence, when the sixth light is on, press this key again to set 6 fixed filter numbers, the remaining 6 are dynamic filters .
3. Press the bypass key, the red light goes out, and the machine is in the excited state.
4. Slowly raise the main controls of the left and right channels on the mixer. First, the first filter indicator lights, then the second, third, until all 6 fixed filter indicators and 1 dynamic filter indicator light.
5. Adjust the main control of the left and right channels of the mixer to a slightly lower position, which is the larger volume provided by the feedback suppressor.
6. Press the lock key to lock the fixed filter frequency. The left and right channels must be adjusted separately. When one channel is adjusted, the other channel must be turned down and in the bypass state.
There is no very fixed process and sequence for debugging the audio system. Of course, there is no possibility of speculation. Only after being familiar with various audio equipment and having certain operating experience can a good effect be tuned out.